Please click on the image above to view it at full size.
Just Doodlin' ©§GD on October 1, 2009
Materials Needed:
PSP you can get a Free Trial version here.
Font of Choice (I used Curlz MT you can get it here)
Remember to SAVE often as I won't be reminding you!
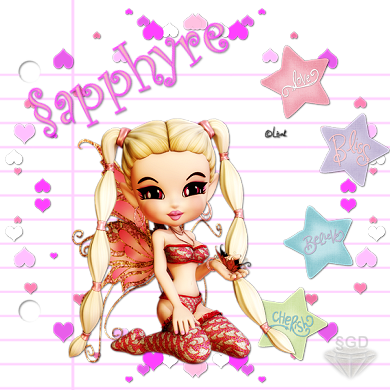
♥ Let's Tag! ♥
Step 1: Open PSP and unzip your files from the Legally Pink.
These are the files I have used from this kit:
TD_LP_PP34
TD_LP_Hartfetti
TD_LP_Stars
SSLisa-Cookie_Elfdance Flirty_Pink 2
Minimize all for now in PSP.
Step 2: Open a New Image - 600x600 pixels - 300.00 dpi-Transparent.
This will give us some working room. Name this layer as CANVAS or BG for background, flood fill with a med-dark color of choice. This is so we can see our work as we continue along, this layer later will be deleted. So any dark color will work for the background.
Step 3: Maximize TD_LP_Hartfetti. Copy, close out the original.
Paste as a New Layer on your BG image. Name this layer HEARTS.
Resize the HEARTS layer by 50%. Image - Mirror. Layers - Merge Down.
Right click on the HEARTS layer, Duplicate. Image - Flip. Layers - Merge Down.
Step 4: Maximize TD_LP_Stars. Copy, close out original.
Paste as a New Layer on your working image. Name this layer STARS.
Move to the far right of your image, close to but not right at the edge.
Step 5: Maximize SSLisa_Cookie_Elfdance Flirty_Pink2. Copy, close original.
Paste as a New Layer on your working image. Resize 80%. Rename to GIRL.
Move your GIRL image towards the bottom of your HEARTS image.
(See Tag for placement)
Step 6: Give each of your layers:
Hearts, Stars, and Girl a dropshadow with these settings:
Vertical: 1, Horizontal: 1, Opacity: 50, Blur: 2.00, color: Black (#000000)
Hit OK.
Step 7: Hiding your BG Layer, Go to Layers - Merge - Merge Visible.
Resize - 65% All layers checked.
Unhide your BG Layer now and minimize TD_LP_PP34. Copy, close original and Paste as a New Layer ABOVE your BG Layer in your Layers Pallette. Name this layer PAPER. Resize 65%. Move into place so that the 2 holes in your notebook paper show on your image. (See Tag for placement).
Delete your BG Layer (the med-dark color you chose at the beginning). Give your PAPER layer the same dropshadow as in Step 6.
Step 8: Add your name with your chosen font, adjusting size. (With the font I used, I used Curlz Mt, font size 48). Give your name the same dropshadow as in Step 6.
Step 9: Add a new layer for any copyright info you may need and / or your watermark.
Adjust the blend mode to your liking.
Step 10: Save as a .png file by using File - Export - PNG Optimizer.
The settings I use for my .png files are as follows:
Colors Tab: 16.7 Million Colors (24 bit)
Transparency Tab: Alpha Transparency & Existing Image or Layer Transparency.
Gamma Tab: I leave it as is.
Format Tab: Non-Interlaced.
Download Times Tab: Leave as is.
Click OK and you are done!
YAY! You did it!
I hope you have enjoyed this tutorial and will be back to check out more I will have up soon!
If you should have any troubles with this tutorial, please feel free to email me at sgd247@att.net OR sapphyre@gmx.com with a subject title of TAG TUT HELP and I will get back to you with any help needed! Thanks again!
*Hugz*
§apphyre


No comments:
Post a Comment