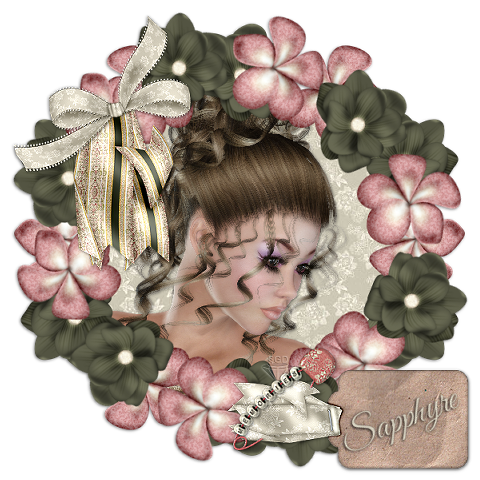
Click on the image above to view in full size.
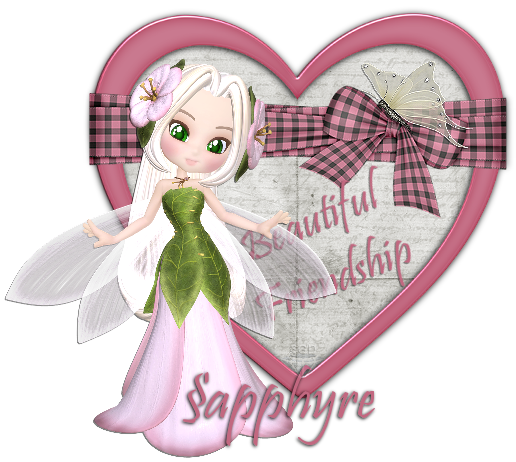
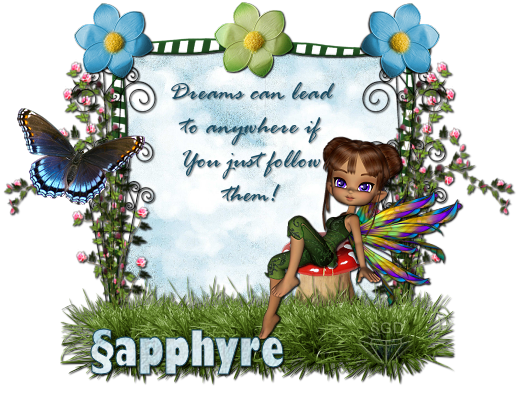
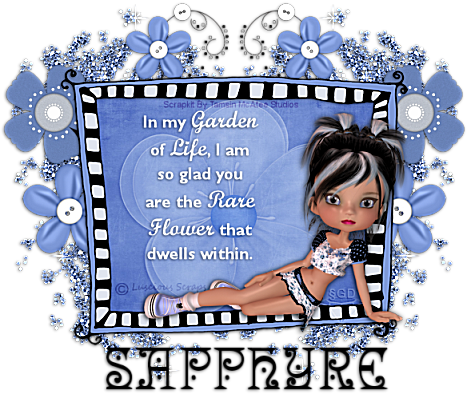
Tut Title: Garden of Life
Tut © By §apphyre Gemz Designz
Date: January 25th, 2010
Cookie: ©Luscious Scraps
* Thank you so much Tamsin for allowing me the use of your beautiful kit for this tutorial. *
Materials Needed:
PSP version 9 or above. You can get the current FREE trial version HERE
Kit: Baby Blues Tagger Kit By Tamsin McAtee Studios HERE
Kit: Baby Blues Tagger Kit By Tamsin McAtee Studios HERE
Ok Let's Tag!
*Remember to SAVE, SAVE, SAVE, as I will not be reminding you to do so after each step!*
Step 1: Open up the following pieces from the Baby Blues Kit: These are the pieces I used for this tutorial.
Baby Blues Element Glitter 1
Baby Blues Element Flower Doodle 1
Baby Blues Paper 12
Baby Blues Element Flower 2
Baby Blues Element Frame 3
Baby Blues Element Baby Blue
Minimize in PSP until needed.
Step 2: Open a New Image 600x600 pixels, Transparent. This will be our working canvas and we can resize later. Rename this layer to CANVAS.
Step 3: Maximize Baby Blues Elements Frame 3. Copy / Paste as a New Layer on your canvas. Rename to FRAME.
Step 4: Maximize Baby Blues Element Glitter 1. Copy / Paste as a New Layer on your canvas. Resize 55%. Move to the top left of the frame so it peeks out above the frame slightly. Duplicate, Mirror. Duplicate, Flip. Duplicate, Mirror. Hide your FRAME and CANVAS layers, Merge -- Merge Visible. Adjust Sharpness -- Sharpen More. Rename this layer to GLITTER. In your layer pallette, highlight this layer and drag it UNDERNEATH your FRAME layer. Unhide all layers now.
Step 5: Maximize Baby Blues Elements Flower Doodle 1. Copy / Paste as a new layer on your canvas. Resize 55%. Rename this layer as FLOWERS. Drag this layer UNDERNEATH your FRAME layer, but on top of your GLITTER layer. Arrange your FLOWER layer so that the flowers show from underneath the FRAME layer. Duplicate, Mirror. Layers -- Merge -- Merge Down.
Step 6: Highlight your FRAME layer. With your Magic Wand Tool, click on the INSIDE of the frame. Selections - Modify - Expand 5 pixels. Maximize Baby Blues Paper 12. Copy / Paste into selection. Rename this layer as FRAME BACKGROUND. DO NOT deselct yet!
Step 7: Maximize Baby Blues Elements Flower 2. New Raster Layer, rename to FLOWER ACCENT. Paste into selection. Selections - select none. Set the Blend Mode (on your layer pallette) to Soft Light.
Step 8: Maximize Baby Blues Elements Baby Blue (your poser doll). Copy / Paste as a new layer. Rename this layer to DOLL. Resize 55%. Position her sitting on the lower edge of the FRAME. See tag for placement. Give her a Dropshadow with these settings: Vertical: 1, Horizontal: -1, Opacity: 100, Blur: 5, Color:#000000. With your Selections Tool, set to Rectangle. Carefully box the ©Luscious Scraps Watermark. Cut / Paste as a new layer. Rename this layer to DOLL WATERMARK. Set the Blend Mode for this layer to Soft Light.
Step 9: New Raster Layer. Name it TAG MESSAGE. The easiest way to do this working with 2 different fonts is to type it out using your main font. Here in this case, the main font being Gill Sans MT, set to a size of 16, with a background color set to #FFFFFF. Type out your message. Now once you are done, BEFORE hitting OK.....highlight Garden, Life, Rare Flower one at a time of course, and change your font to Script MT Bold with a size of 22. NOW you can click on the OK button. Move your text to center it within your frame next to your doll. (See tag for placement).
Step 10: Give EACH of your layers with the exception of the DOLL layer and your FRAME BACKGROUND layer. A Dropshadow with these settings: Vertical: 1, Horizontal: -1, Opacity: 50, Blur: 5, Color: #000000.
Step 11: New raster layer. Name this layer DESIGNER WATERMARK. Add in the Designer's name for the scrapkit used. Move to the top inside of the frame. Set the Blend Mode to Soft Light.
Step 12: New raster layer. Name this layer MY WATERMARK. Place your watermark, either a symbol you use or type out your name. Move someplace within the frame so you can see it. Set the Blend Mode to Soft Light.
Step 13: Now here you can do a final SAVE as a .png file so you will have a blank tag to use over and over again in the future should you decide to make other tags or extras tags. Go to File - Export as PNG file and follow prompts giving your tag a name and saving it to where you can find it again later on.
Step 14: Here we personalize our tag with our name. New raster layer. Rename this layer to YOUR name. Here I used the Angel font set to a size of 48. Now depending on the length of your name, you will need to adjust the size to your liking. Type out your name. Giving your name a Dropshadow with the following settings: Vertical: 1, Horizontal: -1, Opacity: 50, Blur: 5, Color: #000000.
Step 15: Save your finished tag as a .png file following the steps as in Step 13. And you are done! YAY! Now if the tag is too large for your liking, you can resize it before doing the save.
I hope you have enjoyed this tutorial as much as I have creating it for you! If you should run into any troubles along the way, please feel free to email me here at sgd1970@gmail.com with a subject heading of
TAG TUT HELP, and I will assist you in any way I can.
* Hugz and Thanks! *
§apphyre